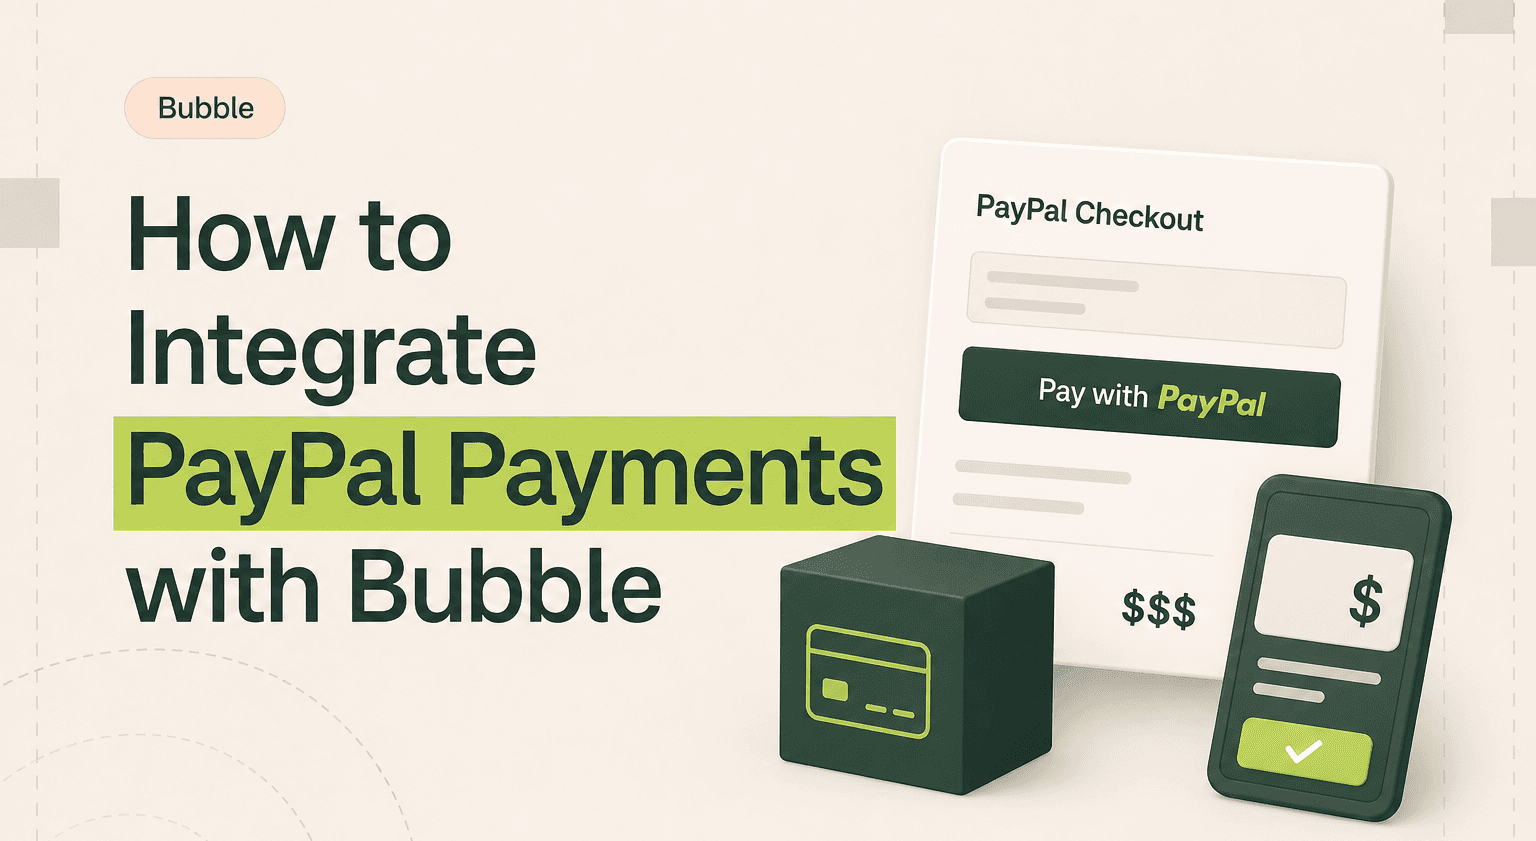
TL;DR: Add PayPal checkout, subscriptions, and seller payouts to your Bubble app.
Render Smart Payment Buttons via an HTML element, then connect createOrder and onApprove callbacks to Bubble Backend Workflows that hit PayPal's Orders API.
Set up subscriptions with PayPal Products and Plans, then process BILLING.SUBSCRIPTION webhooks to keep user access in sync automatically.
Pay marketplace sellers through the Payouts API with just an email and amount, skipping the Stripe Connect onboarding flow entirely.
Build Payment, Subscription, and Payout data types with PayPal IDs stored on every record so webhook handlers and refund logic stay traceable.
Hire experienced web app developers for production payment flows on the SaaS development track, then validate revenue mechanics through a focused MVP.
What PayPal Integration Does for Your Bubble App
PayPal is one of the most recognized payment methods globally, with over four hundred million active accounts. Integrating PayPal with your Bubble app gives users a familiar checkout option that does not require entering credit card details. Users log into their PayPal account, confirm the payment, and the transaction is processed. No card numbers, no billing address forms, and no friction for users who already have a PayPal account.
The integration supports one-time payments, subscriptions with recurring billing, invoicing, refunds, and payouts. PayPal's Smart Payment Buttons also include options for Pay Later financing and Venmo in supported regions, giving your customers payment flexibility without additional integration work on your side.
For Bubble app development, PayPal is particularly valuable in three scenarios: international commerce where PayPal has strong adoption, marketplace platforms where sellers prefer PayPal payouts, and applications targeting demographics that prefer PayPal over direct card payments. Offering both PayPal and a card payment option like Stripe covers the widest range of customer preferences.
Core Use Cases with Trigger and Action Logic
Use Case 1: One-Time Payment with Smart Payment Buttons
Trigger: A user views a product or service in your Bubble app and clicks the PayPal checkout button. Action: PayPal's Smart Payment Buttons render in your Bubble page via an HTML element containing the PayPal JavaScript SDK. When the user clicks the PayPal button, the SDK calls a createOrder function that sends order details including amount, currency, and description to your Bubble Backend Workflow. The Backend Workflow calls PayPal's Orders API to create an order and returns the order ID to the SDK. PayPal opens its checkout window where the user logs in and approves the payment. After approval, the SDK calls an onApprove function that triggers another Backend Workflow to capture the payment via PayPal's Capture endpoint. The captured payment confirmation is stored in your Bubble database. This two-step flow, create order then capture, is PayPal's standard integration pattern.
Use Case 2: Subscription with Recurring Billing
Trigger: A user selects a subscription plan in your Bubble app. Action: Before any user interaction, you set up Products and Plans in PayPal's API or through the PayPal dashboard. A Product represents what you sell, and a Plan defines the billing cycle, price, and trial period. When a user clicks the subscription button, the SDK creates a subscription with the plan ID. The user approves in PayPal's checkout window, and the subscription begins. PayPal handles all recurring billing automatically, charging the user on each billing cycle without additional API calls from your Bubble app. Configure PayPal webhooks for subscription events like BILLING.SUBSCRIPTION.ACTIVATED, PAYMENT.SALE.COMPLETED, and BILLING.SUBSCRIPTION.CANCELLED. Your Bubble Backend Workflows process these webhooks to update the user's subscription status and grant or revoke access to premium features.
Use Case 3: Marketplace Payouts to Sellers
Trigger: A transaction completes in your marketplace app and the seller's payout becomes eligible after a holding period, delivery confirmation, or manual approval. Action: A Bubble workflow calls PayPal's Payouts API to send money directly to the seller's PayPal email address. The payout request includes the recipient email, amount, currency, and a note. PayPal processes the payout and the seller receives the funds in their PayPal account. For marketplaces, this is simpler than Stripe Connect because sellers do not need to go through an onboarding process. They just need a PayPal email address.
Setup: API Connector and JavaScript SDK
Step 1: Create a PayPal Developer App. Go to developer.paypal.com, create a business app, and note your Client ID and Client Secret for both sandbox and production environments. PayPal's sandbox provides test accounts for both buyer and seller roles with fake credentials for development and testing.
Step 2: Get an Access Token. PayPal's API uses OAuth 2.0 for authentication. Before making API calls, request an access token by sending a POST to https://api-m.paypal.com/v1/oauth2/token with your Client ID and Client Secret as HTTP Basic Auth credentials and the body grant_type=client_credentials. The response includes an access_token valid for several hours. In Bubble, you can either request a fresh token before each API call, which is simpler but slower, or cache the token and refresh it when it expires for more efficiency.
Step 3: Client-Side Smart Payment Buttons. Add PayPal's JavaScript SDK to your Bubble page via an HTML element with a script tag. The source URL includes your Client ID as a query parameter. Render the PayPal buttons in a designated container div. The SDK provides createOrder and onApprove callback functions. In createOrder, use JavaScript to call a Bubble Backend Workflow that creates a PayPal order and returns the order ID. In onApprove, call another Backend Workflow that captures the approved payment. The JavaScript-to-Bubble bridge, using a Toolbox plugin or similar, passes data between the SDK callbacks and Bubble's workflow system.
Step 4: Webhook Configuration. In your PayPal Developer Dashboard, configure webhooks pointing to Bubble Backend Workflow endpoints. Subscribe to events relevant to your integration: PAYMENT.CAPTURE.COMPLETED for one-time payments, BILLING.SUBSCRIPTION.ACTIVATED and BILLING.SUBSCRIPTION.CANCELLED for subscriptions, and PAYMENT.PAYOUTS-ITEM.SUCCEEDED for marketplace payouts.
Data Type Design for PayPal Payments
Create a Payment data type with fields for paypal_order_id, paypal_capture_id, amount, currency, status with values like CREATED or APPROVED or CAPTURED or REFUNDED, payer_email, payer_id, and timestamps. For subscriptions, create a Subscription data type with paypal_subscription_id, plan_id, status with values like ACTIVE or SUSPENDED or CANCELLED, start_date, next_billing_date, and linked User. For marketplace payouts, create a Payout data type with paypal_payout_batch_id, recipient_email, amount, status, and linked to the relevant order or seller record. Store PayPal IDs on every record for reference in API calls and webhook processing.
Common Pitfalls
Not using the capture flow. PayPal's recommended integration uses a two-step flow: create an order, then capture the payment after user approval. Some developers try to process the entire payment in a single step, which bypasses PayPal's buyer protection and can result in disputes. Always follow the create-then-capture pattern.
Sandbox configuration issues. PayPal's sandbox environment requires separate test accounts for buyer and seller roles. If you use your real PayPal email in sandbox mode, authentication fails in confusing ways. Create dedicated sandbox accounts in the developer dashboard and use them exclusively for testing.
Currency formatting. PayPal expects amounts as strings with exactly two decimal places for most currencies. Ten dollars is 10.00 not 10 or just 10. If you send an amount without proper decimal formatting, the API may reject it or round it unexpectedly. Format amounts explicitly in your Bubble workflows.
Ignoring disputes and chargebacks. PayPal's buyer protection program means customers can dispute transactions and request refunds directly through PayPal. If you do not monitor dispute webhooks and respond within PayPal's deadline, you automatically lose the dispute. Subscribe to the CUSTOMER.DISPUTE.CREATED webhook event and build a dispute handling workflow.
Mixed sandbox and production credentials. Using a sandbox Client ID with a production API URL or vice versa produces authentication errors that are difficult to diagnose because the error messages are generic. Double-check that your Client ID, Client Secret, and base URL all match the same environment.
DIY vs Hiring a Bubble Developer
PayPal integration has more moving parts than most Bubble payment integrations because it combines client-side JavaScript with the Smart Payment Buttons SDK, server-side API calls for order creation and capture, and webhook processing for payment confirmations and subscription events. Each piece is individually manageable, but coordinating them requires careful attention to the data flow between client and server.
For a simple buy button on a product page, a technical Bubble builder can implement the integration in a day or two using community tutorials and PayPal's documentation. For subscriptions, marketplace payouts, multi-currency support, or high-volume transaction processing, the complexity escalates quickly. Payment integrations have low tolerance for bugs. A failed payment means lost revenue, and a duplicate charge means angry customers. If payments are a core revenue mechanism for your app, invest in experienced development.
Offer the Payment Method Your Customers Trust
Related guides:
Bubble square integration guide
how to build a crowdfunding with Bubble
PayPal integration gives your Bubble app access to one of the most widely trusted payment methods in the world. For customers who prefer not to enter card details on every site, PayPal provides a frictionless checkout experience that can measurably increase conversion rates. The technical integration requires coordination between client-side JavaScript and server-side API calls, but the result is a payment flow that feels familiar and secure to hundreds of millions of users. Talk to our Bubble developers about adding PayPal to your Bubble app.
PayPal Adds a Trusted Payment Option to Your Bubble App
PayPal integration gives your Bubble app a globally recognized payment method that reduces checkout friction for hundreds of millions of users. The Smart Payment Buttons handle the client-side experience, while the Orders and Capture APIs process payments server-side. Follow the create-then-capture flow, implement webhook processing for payment confirmations, and handle disputes proactively to build a reliable payment integration. Talk to our Bubble developers.

Harish Malhi
Founder of Goodspeed
Harish Malhi is the founder of Goodspeed, one of the top-rated Bubble agencies globally and winner of Bubble’s Agency of the Year award in 2024. He left Google to launch his first app, Diaspo, built entirely on Bubble, which gained press coverage from the BBC, ITV and more. Since then, he has helped ship over 200 products using Bubble, Framer, n8n and more - from internal tools to full-scale SaaS platforms. Harish now leads a team that helps founders and operators replace clunky workflows with fast, flexible software without writing a line of code.
Frequently Asked Questions (FAQs)
Can I accept PayPal payments in my Bubble app?
Yes. Use PayPal's Smart Payment Buttons via the JavaScript SDK for the client-side checkout experience and the Orders API via Bubble's API Connector for server-side payment processing. The integration follows a create-then-capture flow where the user approves the payment in PayPal's checkout window before funds are captured.
How do I set up PayPal subscriptions in Bubble?
Create Products and Plans in PayPal's API or dashboard that define the billing cycle and pricing. Use the Subscriptions API to create subscriptions when users select a plan. PayPal handles recurring billing automatically. Process subscription webhooks in Bubble Backend Workflows to track status changes and manage user access.
Can I use PayPal for marketplace payouts in Bubble?
Yes. PayPal's Payouts API lets you send money to seller PayPal email addresses directly from your Bubble app. This is simpler than Stripe Connect because sellers do not need a formal onboarding process. They just need a PayPal account. Track payout status through webhooks.
Is PayPal or Stripe better for Bubble apps?
They serve different needs. Stripe offers more granular API control and better developer tooling for online payments. PayPal provides a trusted checkout experience for users who prefer not to enter card details and has stronger international adoption in many markets. Many apps offer both to maximize conversion.
How do I test PayPal integration in Bubble?
Use PayPal's sandbox environment with test buyer and seller accounts created in the developer dashboard. Sandbox credentials are separate from production. Use sandbox Client ID and secret with the sandbox API URL. Test the full payment flow including order creation, buyer approval, capture, and webhook processing.
How do I handle PayPal refunds from my Bubble app?
Call PayPal's Refunds API with the capture ID of the original payment through the API Connector. You can issue full or partial refunds. Update the payment record in your Bubble database with the refund status and amount. Subscribe to the PAYMENT.CAPTURE.REFUNDED webhook for refunds initiated through PayPal's dashboard.


